It’s no secret that macOS and Windows are two very different operating systems. While most apps are available on both systems, certain apps, such as Xcode and Final Cut Pro, remain exclusive to Apple. This puts Windows users at a disadvantage, as they are barred from using these services. However, instead of spending thousands of dollars on a new MacBook, you can actually run macOS on yourWindows PCusing virtualization. This article will guide you through the necessary steps to set up macOS in no time.
What is Virtualization?
To put things into perspective, virtualization refers to running a new operating system in a virtual box within another OS. This allows users to use both operating systems simultaneously without manually switching between the two. However, it is important to note that since both operating systems share the same resources, your PC needs to have at least 8GB of RAM and a 4-core processor.
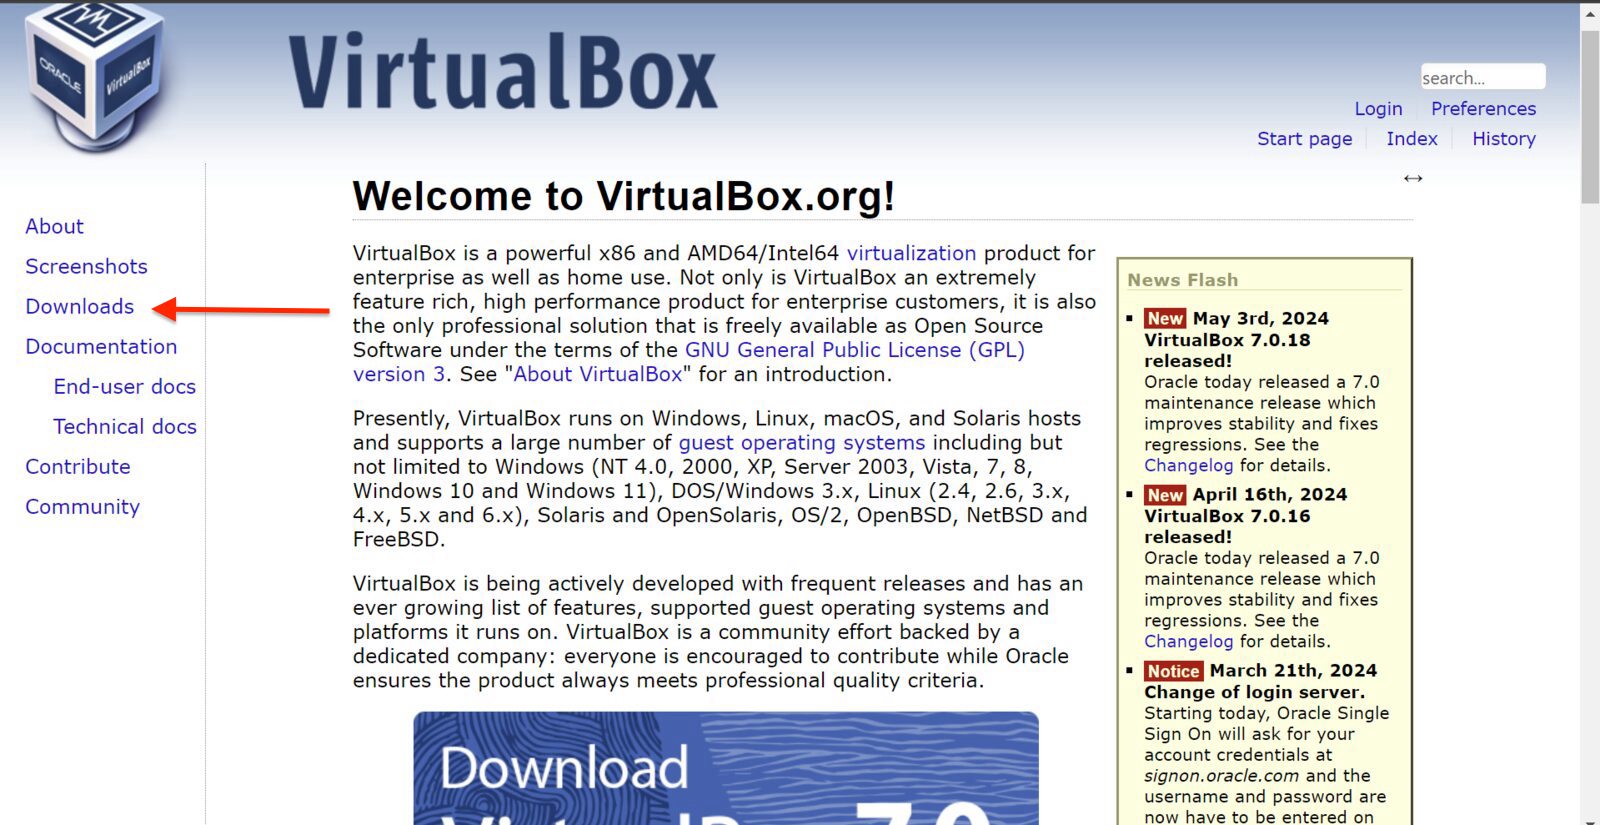
Now that we have the requirements out of the way, we need to choose virtual machine software to install macOS on. While there are several options available, we have chosen VirtualBox for this tutorial since it is the easiest to set up and manage.

Fortunately, the installation process is simple. Users need to:
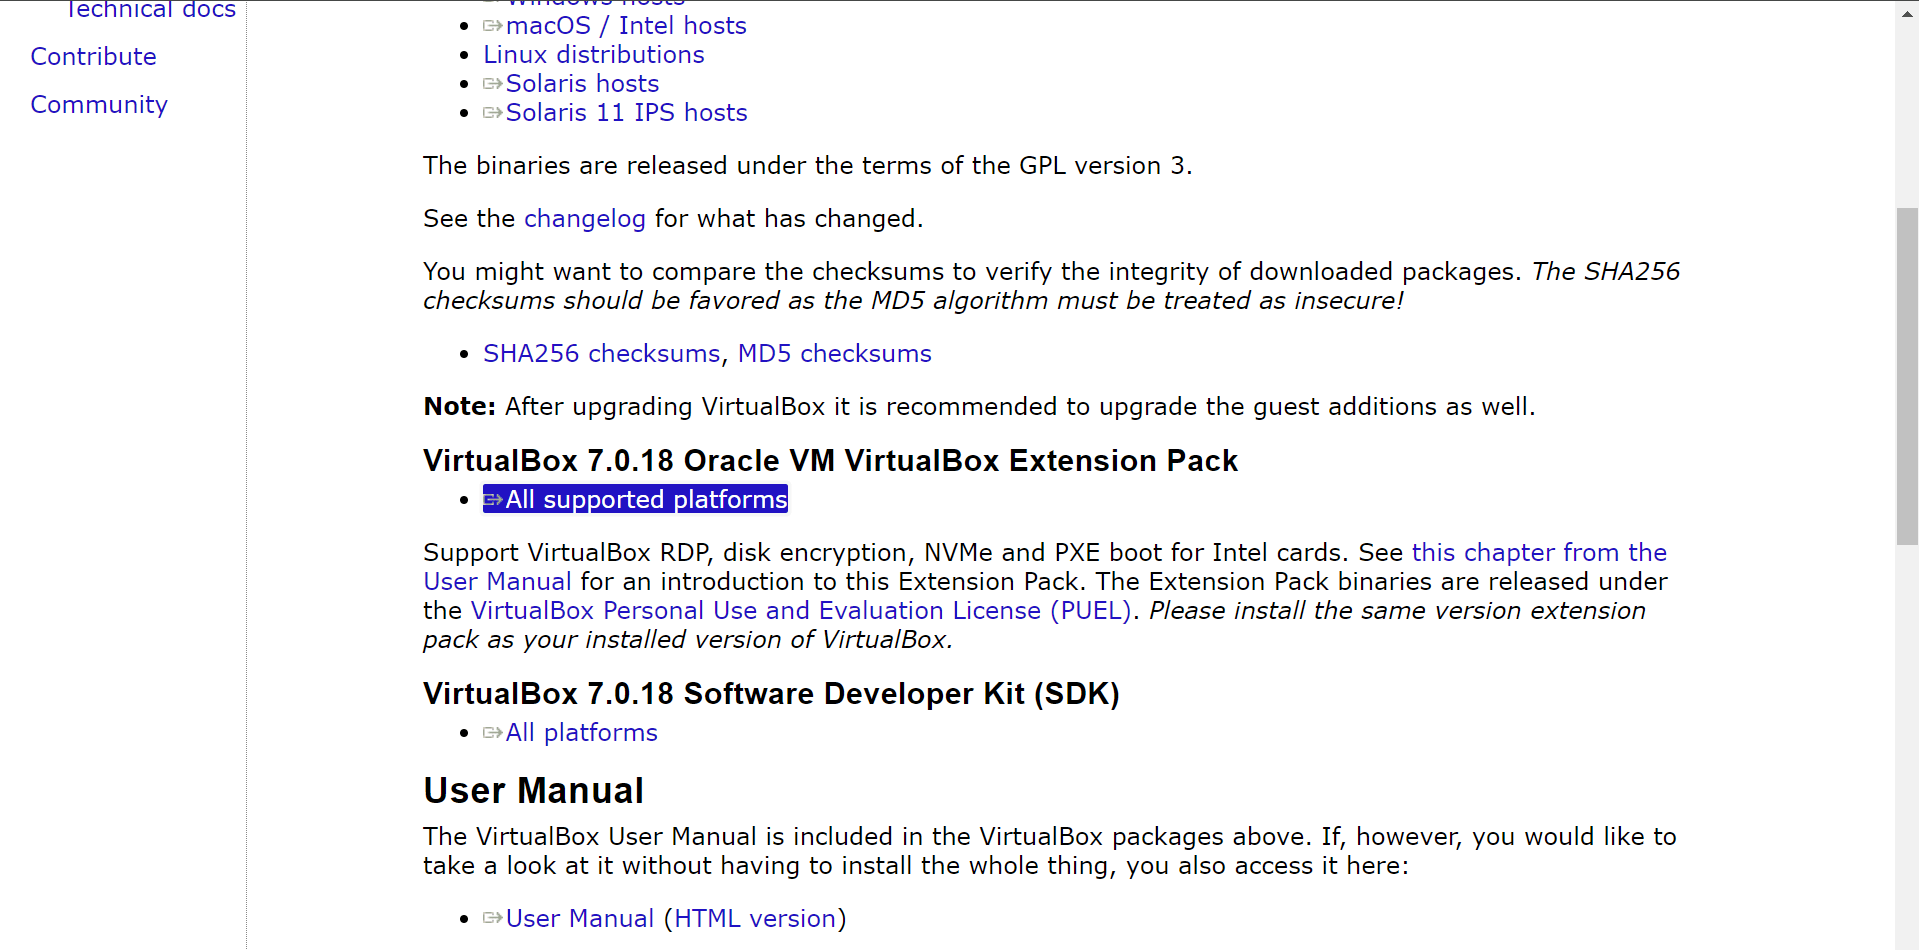
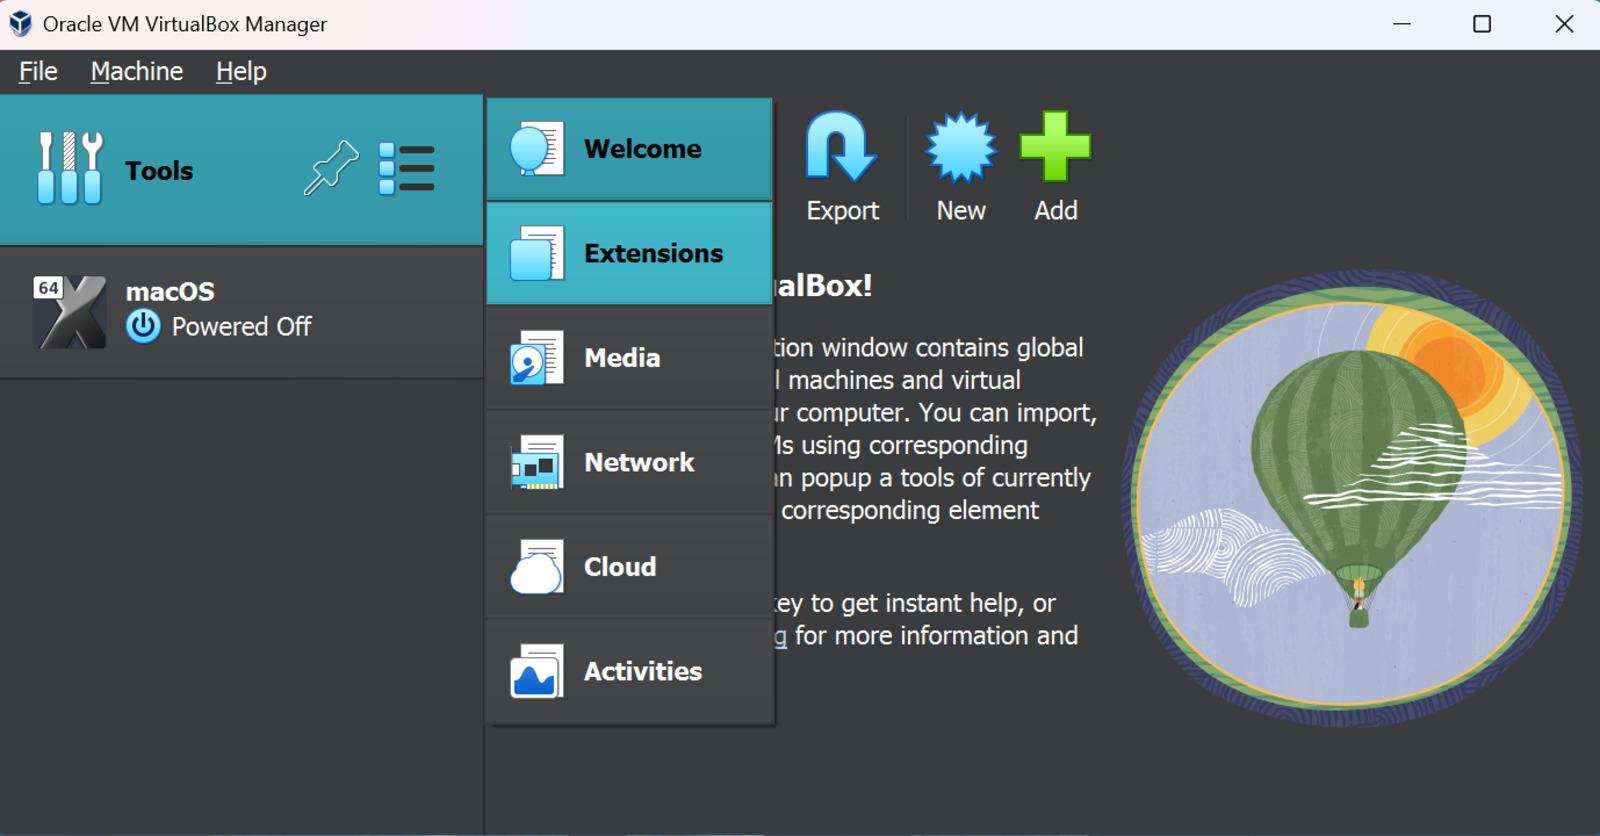
Since we will install the latest macOS version, we must also download the VirtualBox extension pack. To do this:
People familiar with emulation know there are a couple of ways to get an ISO file. To begin with, one can use a MacBook to get the latest ROM, but this requires access to a macOS machine, which defeats the purpose of installing macOS on Windows. Therefore, websites like the Internet Archive are a logical way to get a macOS ISO file. Here is how:
Step 3: Set up VirtualBox
After downloading the macOS file, the next step is to import macOS to the VirtualBox application. Here is how:
Step 4: Configure VirtualBox Settings
Before starting our macOS virtual machine, there are some settings we need to change to ensure a smooth experience:
We also need to make some changes through the Command Prompt to ensure that macOS recognizes the hardware as Apple Silicon. To make them, run the following commands given below. However, remember to replace “VM Name” with the name of your macOS virtual machine. Additionally, note that these commands are for an Intel-based Windows laptop.

Step 5: Launch macOS
After successfully running the commands, the final step is to launch macOS. Here’s how: